Table of Content
Check step 7 in fold the internal frame for more help. Grab your 2mm screwdriver and loosen the two bottom screws of the screw terminal so that you can insert the speaker wires. Make sure the standoffs have snapped into the boards and that the 40-pin header is pushed all the way down so that there is no gap between the two boards. Let’s start by folding the internal frame, which will hold the electrical hardware inside the box. Click Choose OS, scroll to the bottom, select Use custom, and find the .img.xz file you downloaded above.

Your computer is now connected to the Raspberry Pi. NoteYour IP address will be different than the one shown in the example. You will only need to do this when you add the extension into Chrome. This gives permission to the SSH extension to access remote computers like your Raspberry Pi.
Recommended Accessories For The Pi
To confirm that it’s connected to power, look into the hole in the cardboard labeled SD Card. You’ll see a green LED flashing on the Raspberry Pi board. These files are already installed on your kit at ~/AIY-projects-python/src/examples/. You can also browse the examples on GitHub, where you'll find the source code for all the examples and more.

The red and black wires transmit electrical signals which are converted to sound by the speaker. It has a header connector on the bottom of the board. It will take a firm push to get the standoffs to click in, so you should support the board from underneath so it doesn’t bend too much.
Confirm you’re connected
You’ll find yourself using Raspberry Pi OS intuitively. All you’ll need is the Raspberry Pi 3, along with the hardware kit and directions supplied inside the special edition of the magazine. Google has teamed up this the Raspberry Pi foundation to launch a free project kit, enabling enthusiasts to create their very own Google Home-like personal speaker. You can also try talking to your application on any Assistant-enabled device that you‘re signed into. It's handy to have a breadboard, some hookup wire, and a bright LED, and the examples will show those in action.

If you don’t see a prompt, try pressing Ctrl-C a few times, as it's safe to use at the prompt. The button color should change from light red to dark red to indicate it's listening. After entering the auth code, you should see the terminal on the Raspbery Pi immediately begin printing more messages . Copy the code, paste it into you Raspberry Pi terminal (the prompt should still show "Enter the authorization code"), and press Enter.
Run your app at bootup
The Raspberry Pi 4 Model B can keep up with multiple HomeKit devices. Of course, if you want to splurge, thePi 4 Model B+is 20% faster and has double the RAM. You can always configure the devices in their own apps, wait for the Home app to update, and then set the scene in HomeKit with the premade configuration. Developers can build on the above project by programming their own custom voice skills and smart home functions using Google Assistant’s voice recognition as input.
Click Choose storage to select your microSD card and then click Write to begin flashing the SD card. Use an adapter to connect your microSD card to your computer. This kit requires a special version of the Raspberry Pi operating system that includes some extra AIY software.
Check the box bottom
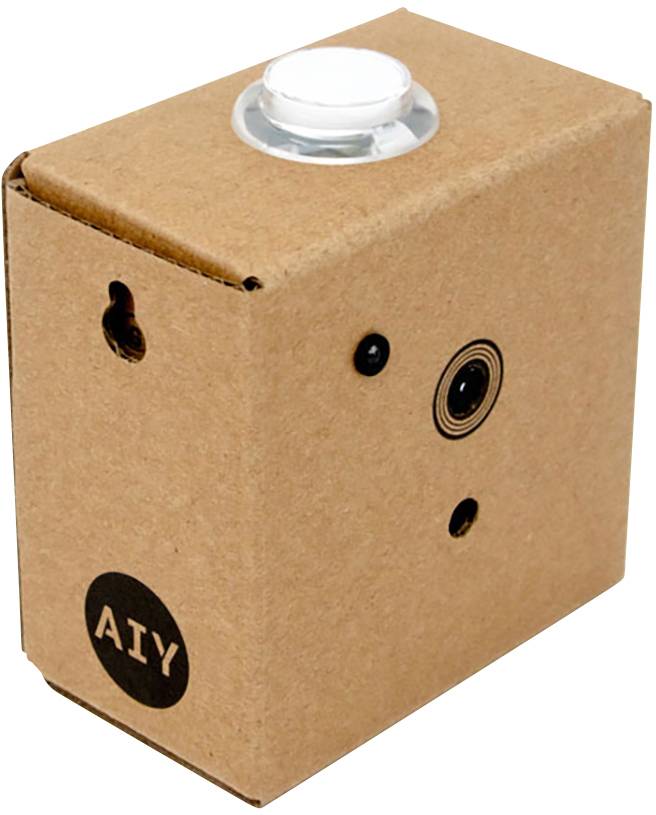
Insert the push button into the hole on the top of your cardboard box. Make sure the connectors are lined up with the cardboard cutouts. The connectors are used to plug in things like your SD card and power.
Believe me; issue 57, the one with the AIY kit, flew off shelves across the globe, and I was unable to find one anywhere either in person or online. You can disable notifications at any time in your settings menu. But you can only get the kit with the latest issue of MagPi magazine. A simple Raspberry Pi is perfect for essential thermostat control.
Return to the main billing page, then click the My projects tab. This waits for you to push the button, then begins recording what you say. When done speaking, press the button again and it will play the recording. If all is well, you will soon see "Press button to start conversation..."
However, the Photon has an addressable LED built in, so you can use just the Photon itself to test all the code presented here if you prefer. You’ll see a message asking you to visit a URL to authorize the application. Because this application makes use of the Google Assistant, it needs your permission to safely access your Google account's data. Most of what you'll try in the following steps is in the voice/ directory. Ls is shorthand for LiSt and prints out all of the files in the current working directory. It's a great way to look around and see what changed on disk.


No comments:
Post a Comment